How to Drywall: A Step-by-Step Guide
Drywalling is a great way to add an extra layer of protection and insulation to your home. Whether you’re doing it yourself or hiring a professional, drywalling can be done in just a few simple steps. With the right supplies and tools, drywalling can give your walls an extra layer of strength and soundproofing that will last for years. In this guide, we’ll show you how to drywall and properly prepare your space for drywall installation, how to cut and hang the boards, as well as tips on finishing up the job with joint compound.
So let’s get started!
- Preparing Your Space: Before you begin hanging drywall, make sure the walls are clean and free of dirt, dust, and other debris. Use a vacuum cleaner to suck up any loose dirt or dust, and then use a damp rag to wipe down the walls. You’ll also want to make sure that all nails, screws, and other objects are securely fastened and out of the way. This will help ensure that your drywall installation is smooth and even.
- Measuring and Cutting Drywall: When you’re ready to start hanging drywall, measure the space and cut the boards accordingly. You’ll want to use a straightedge and a utility knife to make precise cuts, as this will ensure that your drywall fits perfectly. Be sure to wear protective gloves when handling the drywall, as the pieces can be sharp and difficult to manage. This step is best done with two people, so it’s helpful to have a friend or family member helping you.
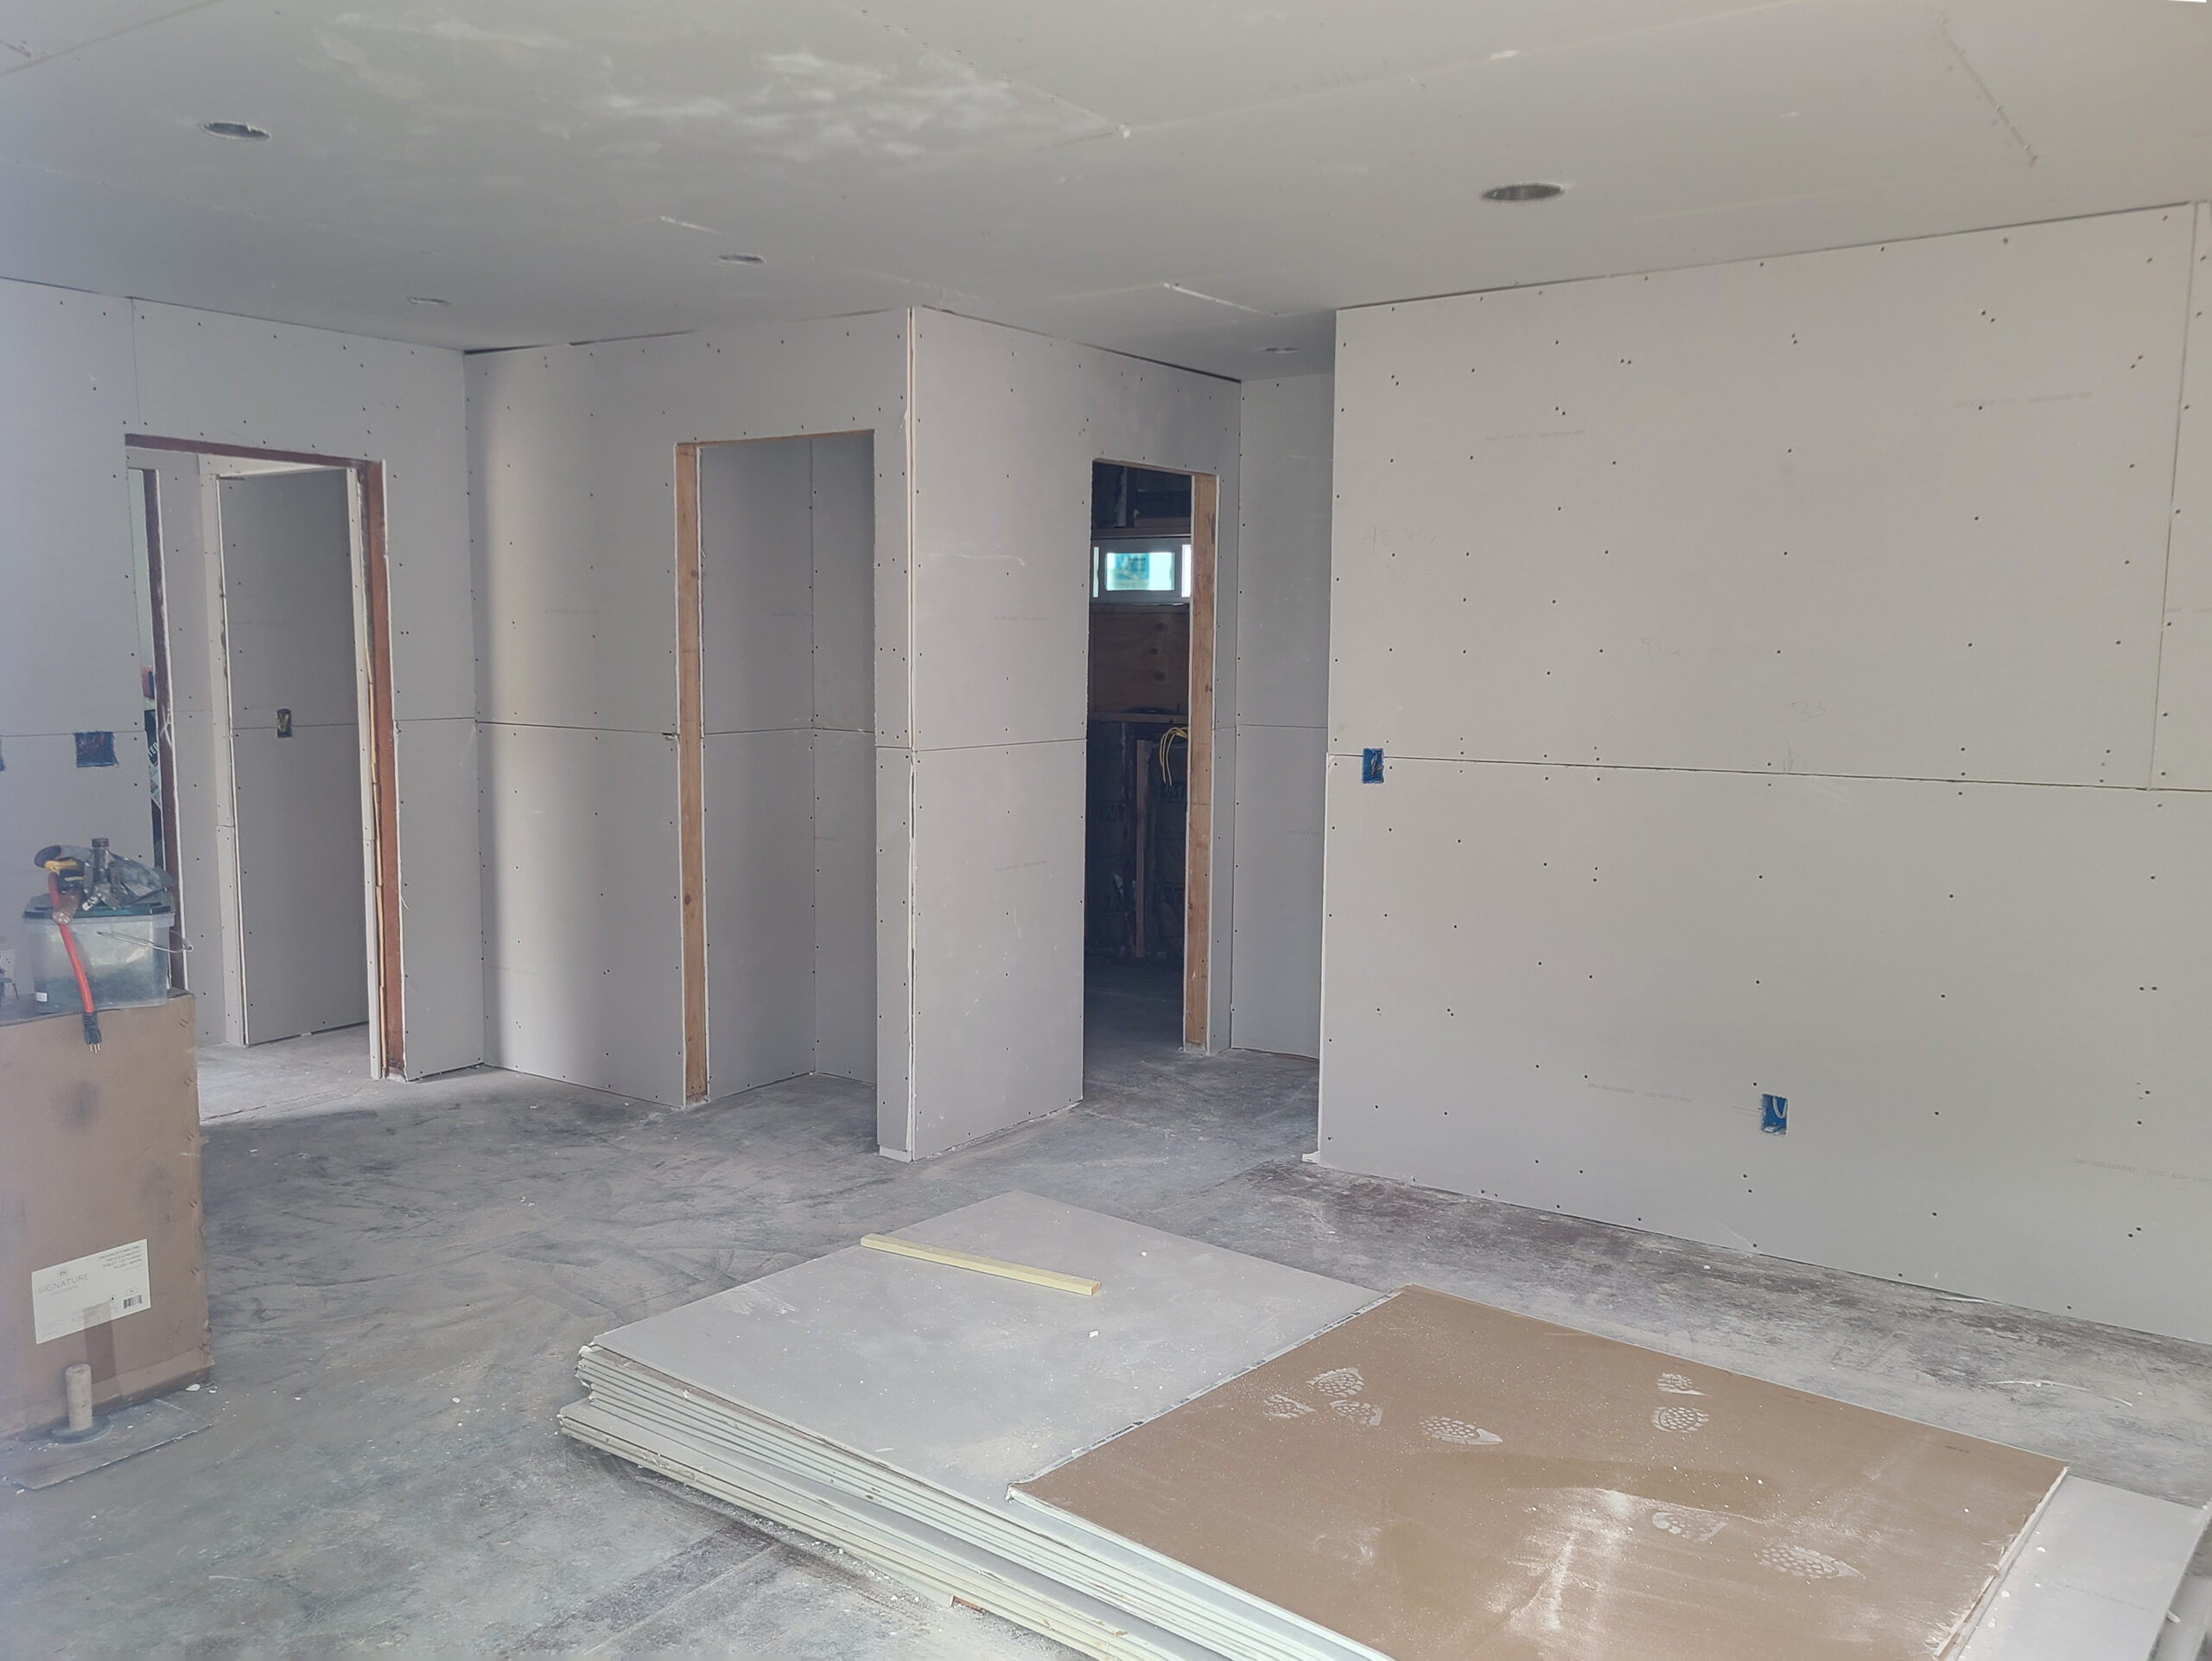
- Hanging Drywall: Once you have all the boards cut and ready to go, you can begin hanging them. To do this, you’ll need a drywall hammer and drywall screws. Also make sure to wear protective gear, such as safety glasses and a dust mask, as drywalling can be very dusty. Start at the top of the wall and work your way down, securing each board with the hammer and screws. This will ensure that the boards are evenly spaced and securely attached.
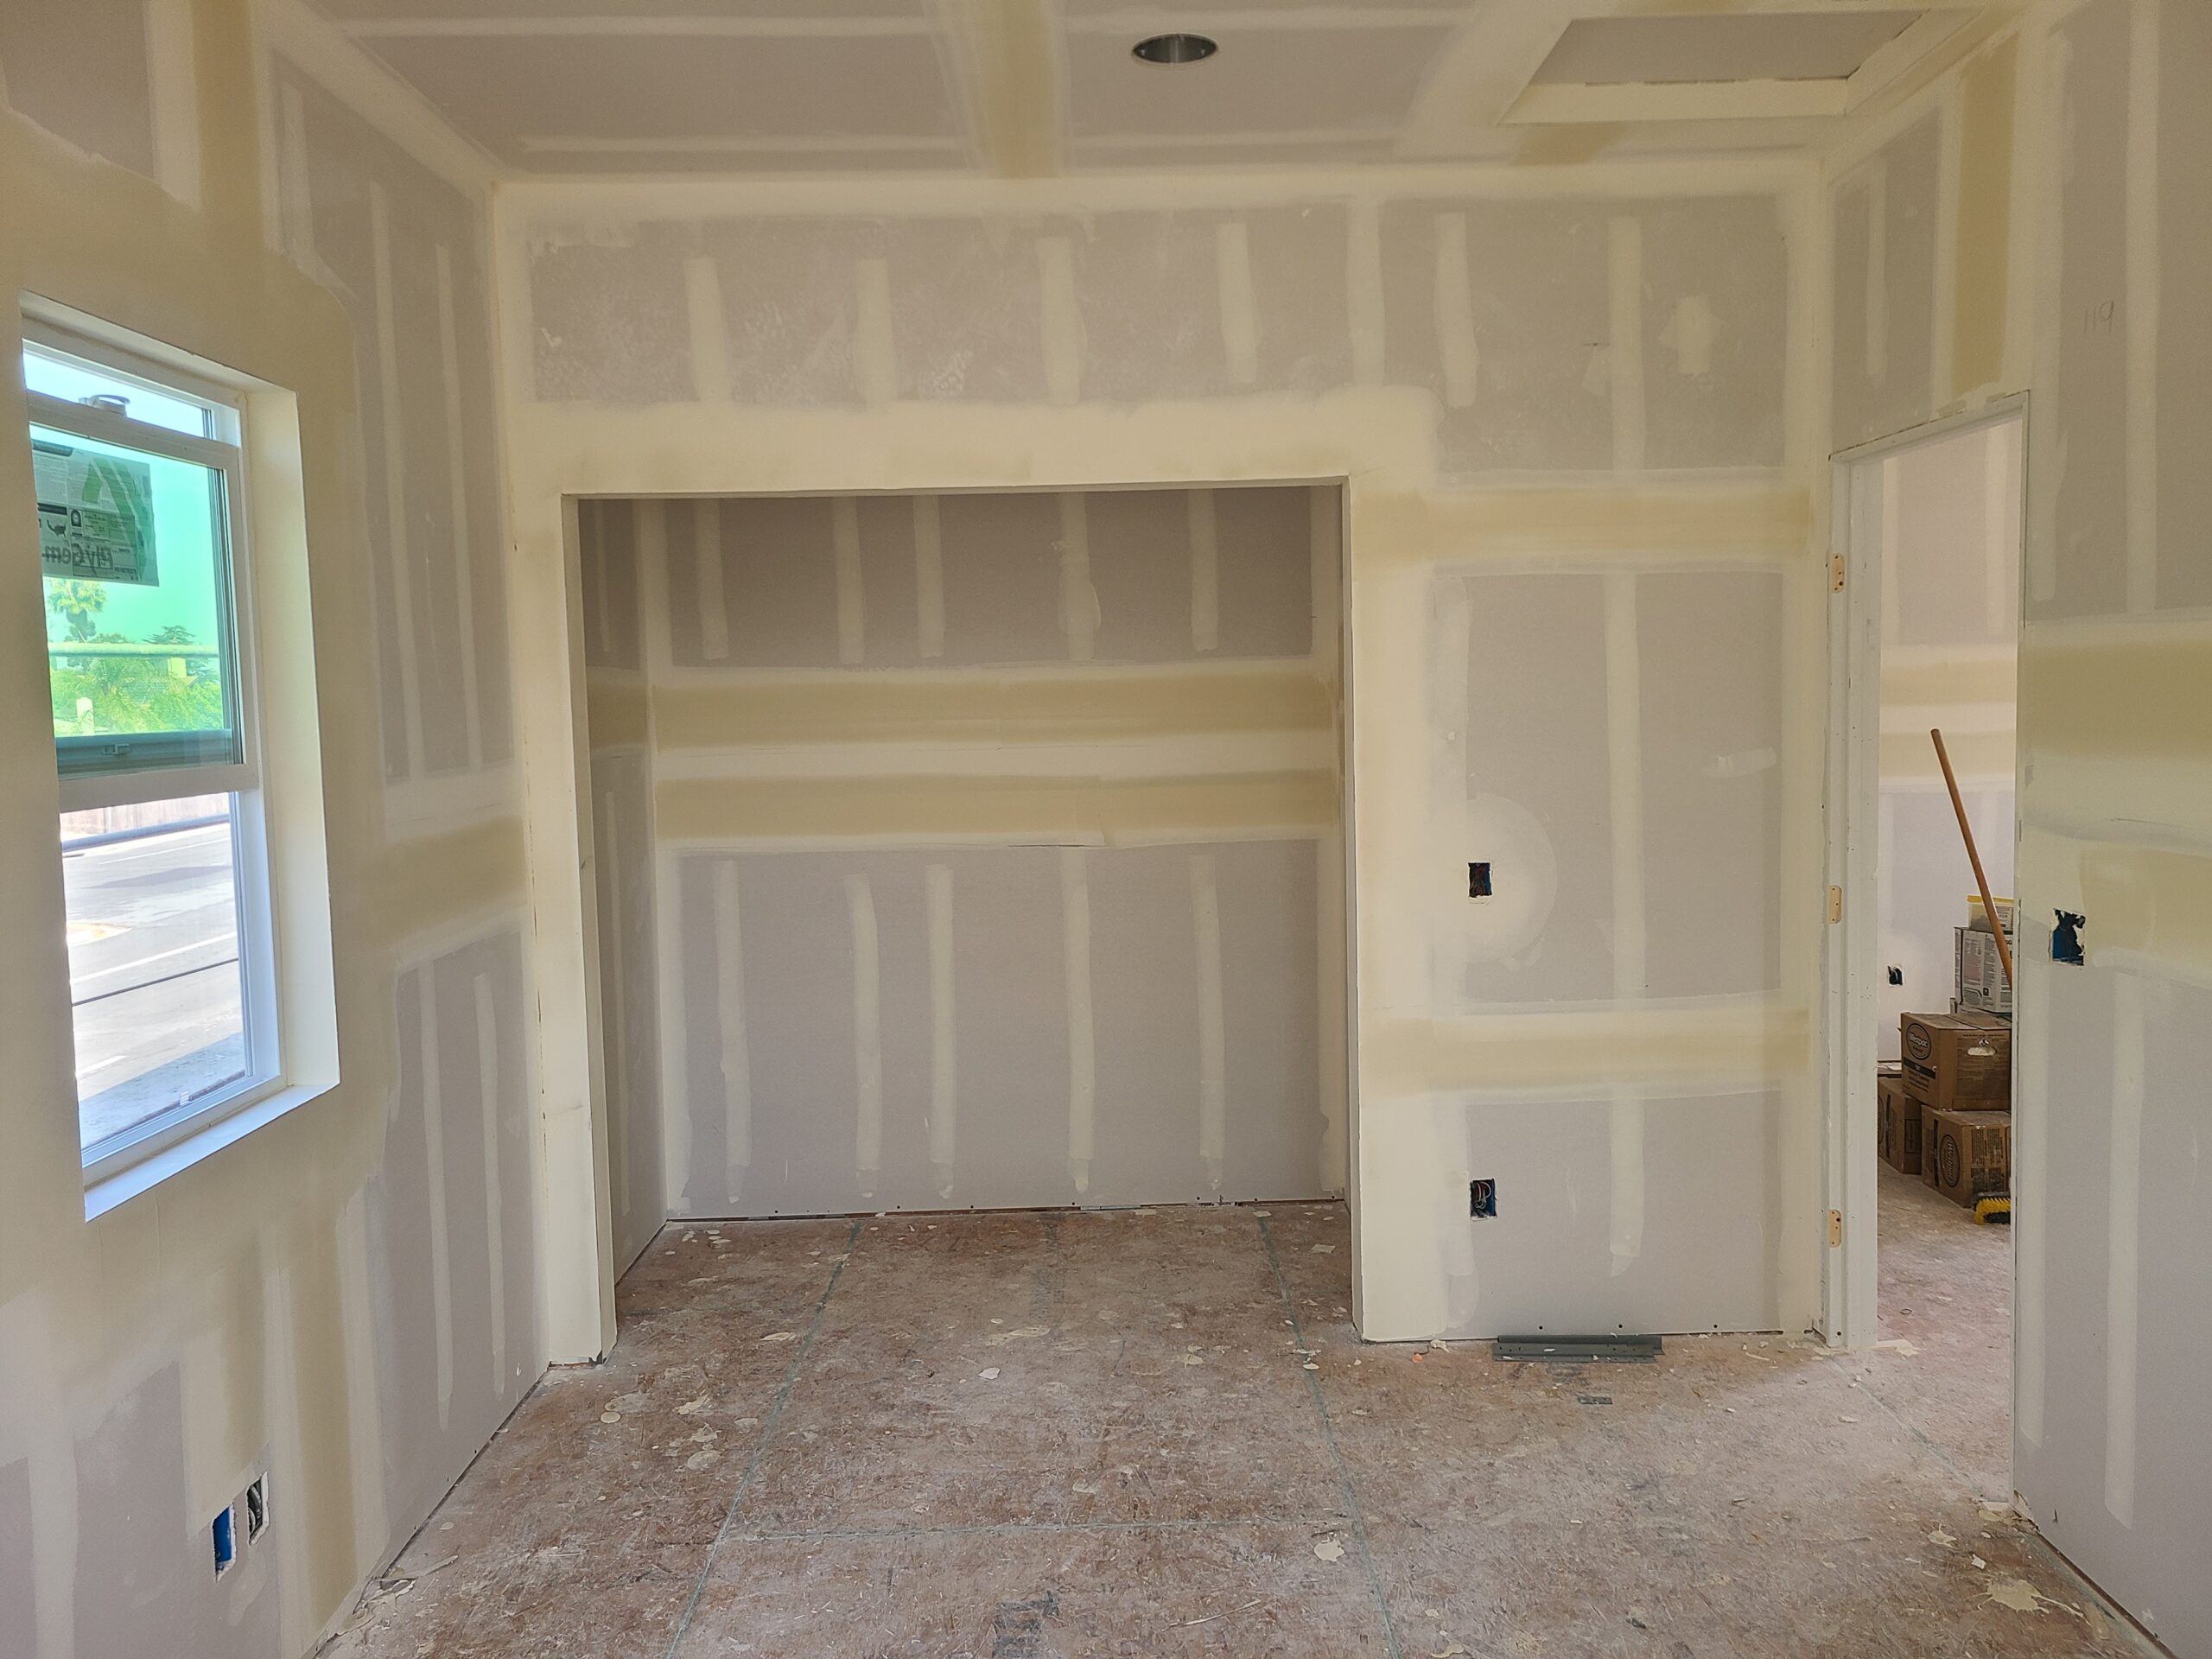
- Finishing Up: Once you’ve finished hanging the boards, you’ll need to cover up the joints and seams with joint compound. Use a trowel or putty knife to apply the compound evenly and then use a drywall knife to smooth it out. Once the joint compound has dried, you can sand it down and paint or wallpaper your walls as desired. This is the final step in the drywalling process and it will provide your walls with an extra layer of strength, insulation, and soundproofing.
And there you have it – a complete guide to drywalling! With the right tools and supplies, you can transform your walls with a beautiful, durable finish. So don’t wait any longer – get started on your drywalling project today! Good luck and happy drywalling!
These instructions are general guidelines. Always take proper safety precautions before beginning any DIY project. Follow the manufacturer’s instructions for use, care and safety when using power tools r other equipment. Always be sure to use the proper safety equipment for any task. If you have any questions, please consult a professional company.
J&R Drywall
https://goo.gl/maps/v6oxbWvEKmoYMHw16
9258 Marilla Dr, Lakeside, CA 92040, United States
https://www.jandrdrywall.com/