Easy Tips for Applying a Drywall Patch Kit Successfully
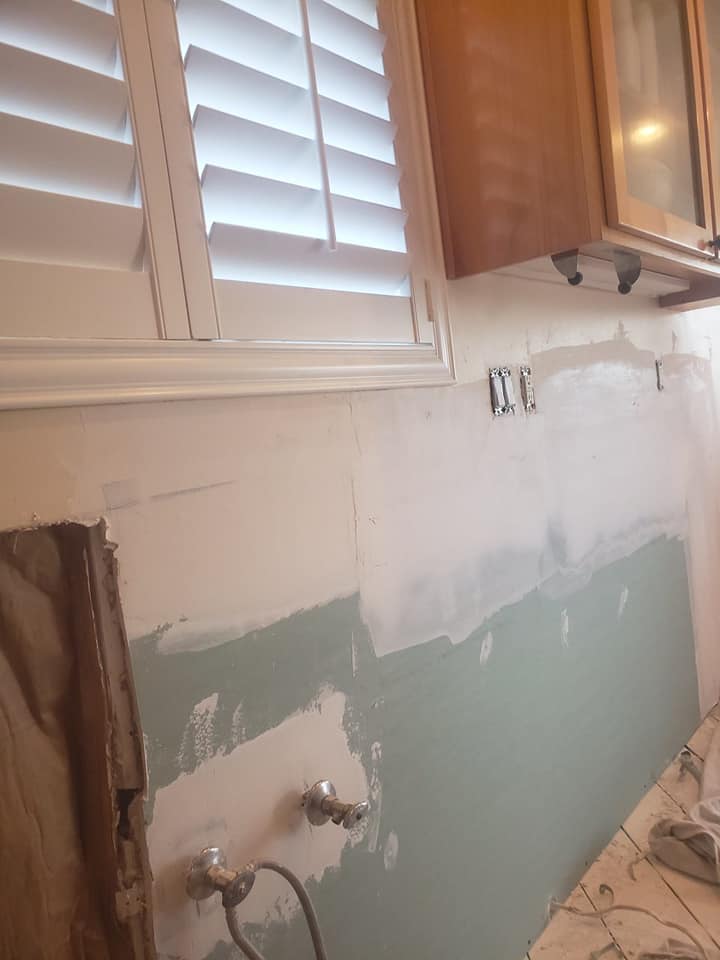
Drywall patch kits are a great way to quickly and easily repair small holes in your walls or ceilings. Whether you’re dealing with nail pops, door knob dings, or just plain wear and tear, applying a drywall patch kit can help you fix the issue without having to replace an entire sheet of drywall. With the right tools and materials, anyone can apply a drywall patch kit successfully – no matter their level of expertise. Here are some easy tips for applying a drywall patch kit so that you get the best results possible.

- Before applying the patch, clean the area thoroughly with a damp cloth. This will help remove any dirt or dust that could interfere with the adhesion of the patch. This is especially important if you’re dealing with a long-term issue that may have picked up a lot of dirt and grime.
- Once the area is dry and clean, cut out a paper template that matches the size and shape of the hole you’re patching. This will ensure that the patch is cut to the correct size and shape, making it easier to apply.
- Apply the patch to the hole using a putty knife and firmly press around the edges of the patch to ensure that it adheres properly. This is a crucial step, as the patch must be applied firmly in order to create a good seal.
- Use joint compound to cover the patch and press firmly around the edges again to make sure that it adheres well to the wall. This will also help to create a smooth and seamless look.
- Allow the joint compound to dry thoroughly before applying a second coat of joint compound, if necessary. This will help give the patch a more seamless look. This layer should be applied in the same way as the first layer.
- Sand the patched area lightly with fine-grit sandpaper to make sure that it’s perfectly even. This will also help the paint adhere properly. You can also use a damp cloth to remove any dust particles that may have been created in the sanding process.
- Finally, apply a coat of primer and paint to the patch as needed. This will help to ensure that the patched area blends in with the rest of the wall and looks professional. You can purchase special paint that is designed to cover repairs, or you can use a matching color of the existing wall.

These seven easy tips will help you apply a drywall patch kit successfully, so you can rest assured that your wall or ceiling is fixed properly and looks great. With a few simple steps, anyone can make sure they’re patching their wall correctly – no matter their level of experience. So don’t be afraid to tackle your wall repairs – with the right tools and materials, you’ll be good to go!
By following these tips, you can successfully apply a drywall patch kit with ease and confidence. With a little bit of patience and the right tools, you can have your newly patched wall looking like new in no time. Good luck!
J&R Drywall
https://goo.gl/maps/v6oxbWvEKmoYMHw16
9258 Marilla Dr, Lakeside, CA 92040, United States
+1 619 721 1533
https://www.jandrdrywall.com/

