How to Install Drywall: A Step-by-Step Guide
Are you looking for a simple and cost-effective way to improve the look and feel of your home? Installing drywall is an excellent option that can give any room in your house a fresh, modern look. Drywall installation may seem intimidating at first, but with some basic guidance, it’s not as difficult as it appears. In this article, we will provide you with a step-by-step guide on how to install drywall correctly and safely from start to finish. We’ll also share helpful tips and tricks for ensuring that the job is done right the first time around, as well as advice on what mistakes to avoid when installing drywall. So let’s get started!
The first step in installing drywall is to choose the right materials. You will need the right type of drywall, as well as other items such as screws, tape and mud. Make sure to buy enough supplies for the job so that you don’t have to make multiple trips to the store during installation. Next, cut your drywall panels according to the measurements of each wall. This can be done using a utility knife or a saw and a straight edge. Be sure to measure twice and cut once!
Once all of your pieces are cut, it’s time to start hanging them on the walls. Start at one corner and work your way around the room, screwing each piece into place with special drywall screws. Be sure to use the proper screws and drill them in at least one inch from each corner. It’s also important to leave a gap between each piece for expansion joints, which will help prevent cracking down the line.
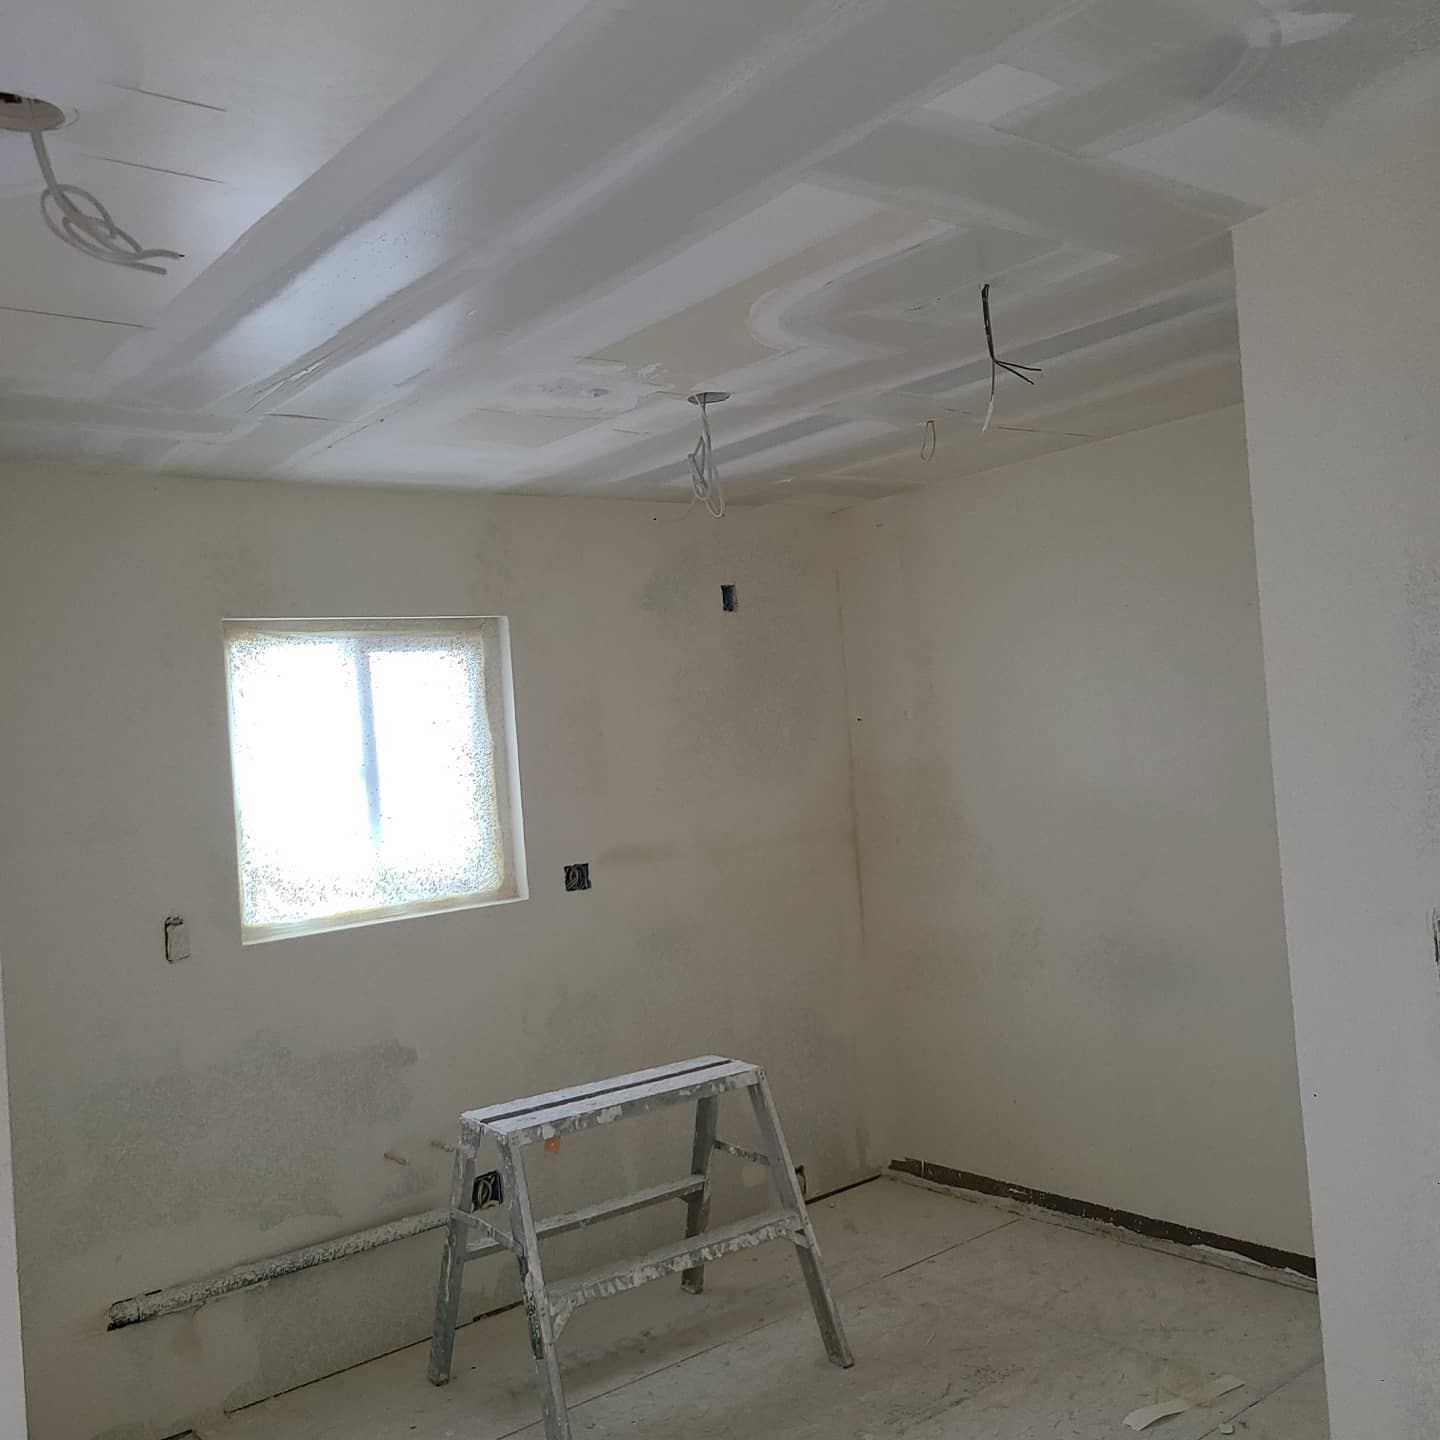
After all of the drywall panels are hung, you can begin taping and mudding the seams. This process involves using special drywall tape and mud mixture to cover up any gaps or imperfections between pieces. Start by applying a thin layer of joint compound over each seam and then pressing drywall tape into it with your hands or a drywall knife. After that, apply another layer of joint compound across the entire wall, spreading it smoothly with the knife until everything is covered evenly. Let the mud dry completely before sanding it down with a medium-grit sandpaper.
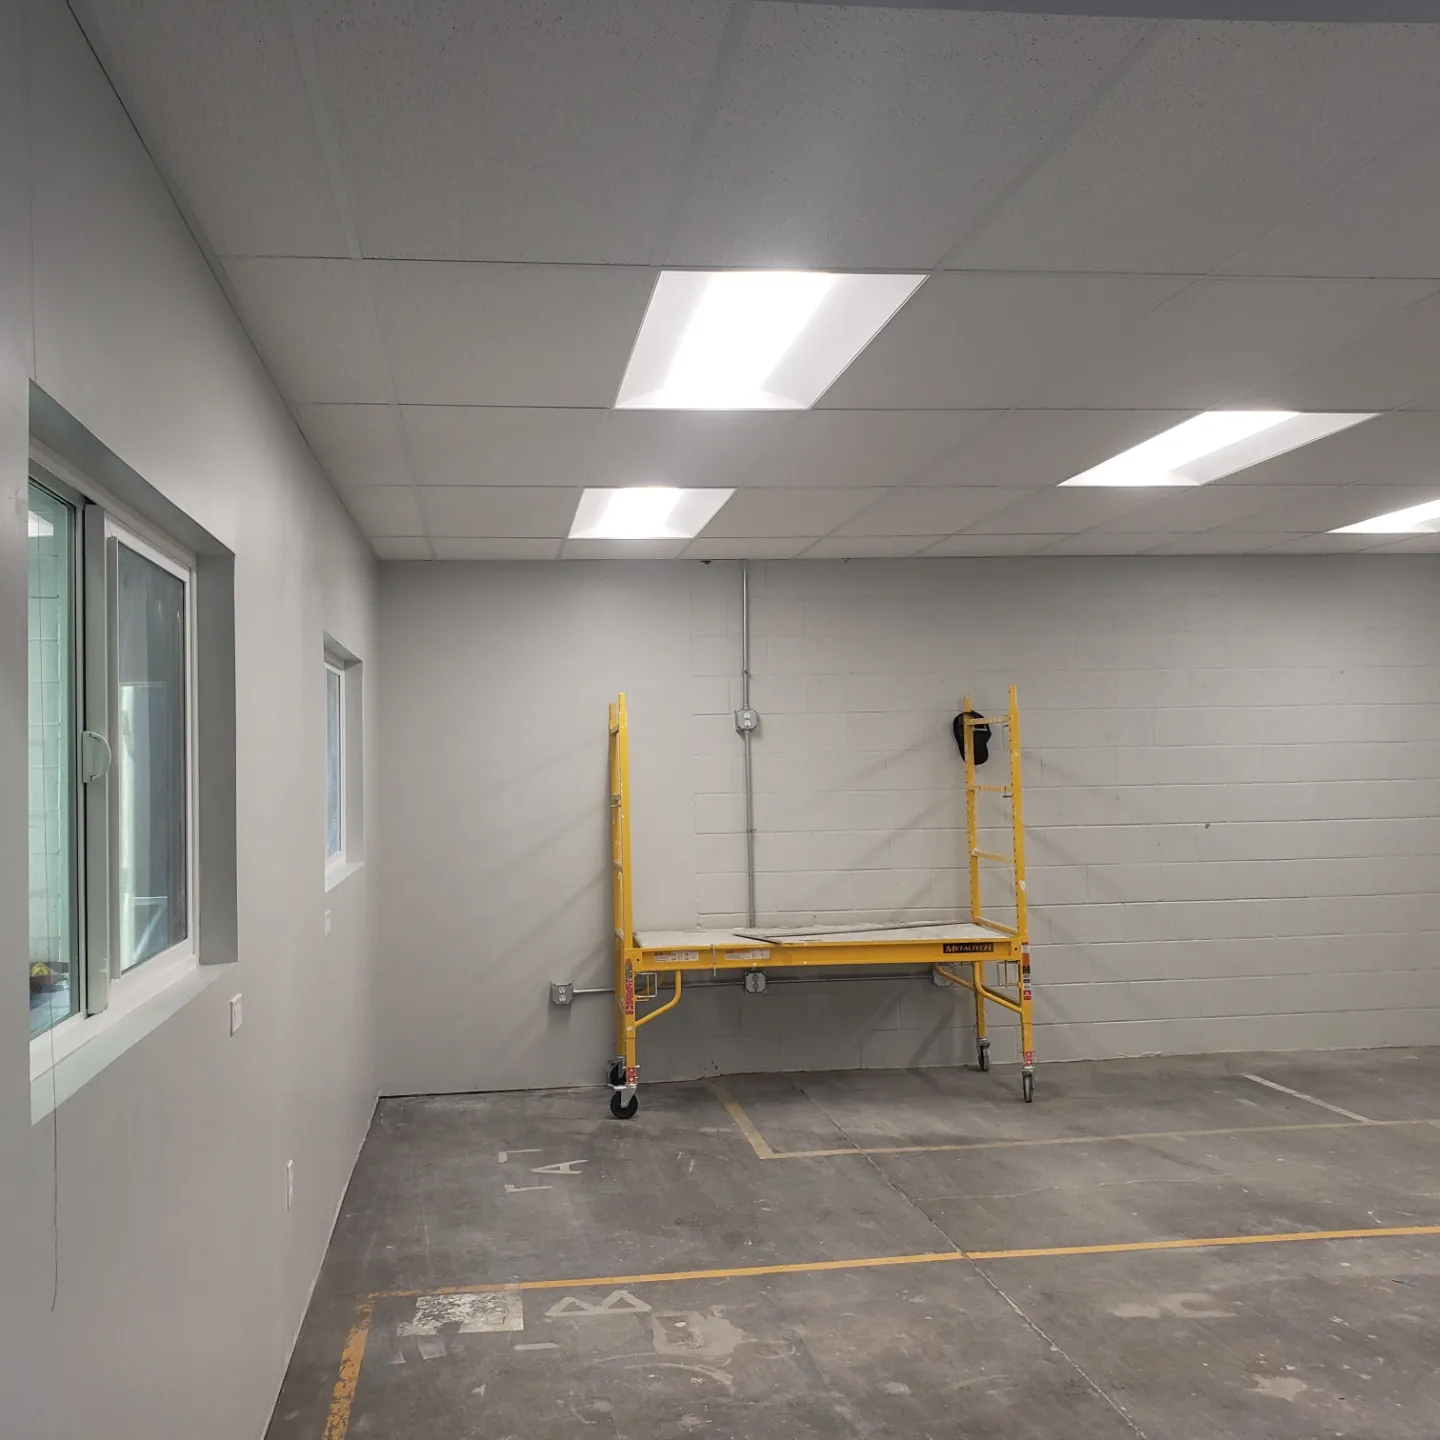
The last step in the drywall installation process is to prime and paint the walls. To ensure that your paint job looks its best, it’s important to use a good quality primer and paint. Once you’re finished, you can sit back and admire your handiwork knowing that you have successfully completed an amazing home improvement project!
By following these simple steps, you can easily transform any room in your house with drywall installation. With some basic guidelines and patience, anyone can complete this task quickly and cost-effectively. Just remember to always measure twice and cut once, leave expansion joints between pieces of drywall, apply joint compound evenly across seams, sand down any imperfections, and use high-quality primer and paint for best results. Good luck!
J&R Drywall
https://goo.gl/maps/v6oxbWvEKmoYMHw16
9258 Marilla Dr, Lakeside, CA 92040, United States
+1 619 721 1533
https://www.jandrdrywall.com/